Tuesday 7 May 2013

How to apply artificial nails.

An easy to follow guide to apply artificial nails!

Wish you had yourself some of those new funky designed nails? Well now you can, and it doesn't have to cost you a fortune. It's easy! Follow my step by step guide to amazing looking nails.


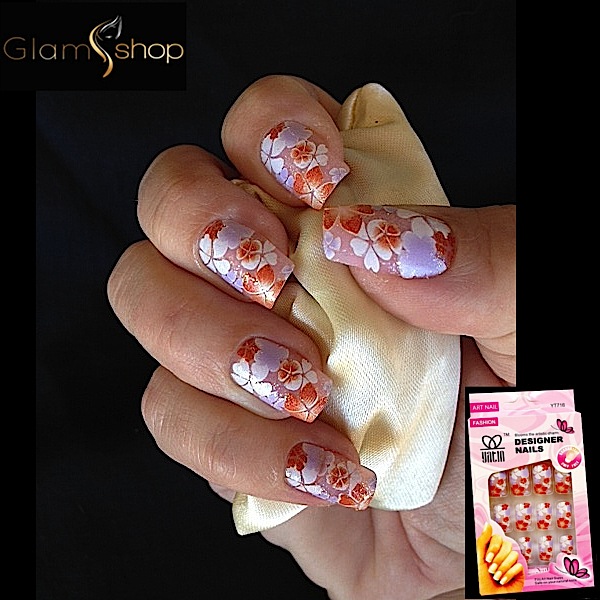
Apply artificial nails


  • Start by preparing your own nails. File your nails down so they're not too long and smooth off any chips or edges. Tidy up your cuticles. Buff the surface of your nails. Clean your nails with an acetone free polish remover. TIP: The fake nails stick better if your nails are not long.

  • Now select the fake fingernails. Make sure they fit perfectly. You don't want any air pockets.


  •  Apply the glue straight onto your fingernail. Cover your whole nail with glue. Your better to wipe off a bit of excess glue than not have enough. Just be sure to wipe it away immediately.


  • Apply the artificial nail at the cuticle first and lower the rest of the nail down. This will ensure the false nail sits snuggly against your cuticle. Hold the nail in place for 10-15 seconds. Repeat on all your nails. TIP: Start at your pinky and alternate hands working up to your thumbs. 


  • Once all the fake nails are firmly stuck you can file them to the shape and length you like.

How long do artificial nails last?

These type of fake nails last around 7-10 days. It is recommended you wait a day or 2 before applying a new set of nails.


How to remove artificial nails?

   To remove the fake fingernails cut them down shorter and file the surface to remove some of the hard protective layer. Now soak in an acetone based nail polish remover. This can take around 10 minutes. You will feel when the acrylic becomes soft. Moisturise your hands after as the acetone is quite drying.


Go to Glamshop for a beautiful selection of artificial nails at great prices.
                                        www.glamshop.com.au


Wednesday 1 May 2013

How to apply eyelash extensions?

Do it yourself eyelash extensions.

 Do it yourself eyelash extensions are the new cheaper alternative to getting those long lustful lashes. Lashes are the in thing right now and this DIY technique is so quick and easy to do. You'll save a fortune on trips to the salon.


Applying your own eyelash extensions


What do I need?
  • lash extensions
  • eyelash extensions glue
  • small square of foil
  • eyelash tweezers- fine curved tip for picking up lashes and non   static so the lashes don't stick 
  • eyelash extensions glue remover
First squeeze a small amount of glue onto the foil. Next with your tweezers carefully pick up a lash flare and dip the end into the glue.
With your eyes slightly open, position the lash flare at the base of your own eyelashes and hold in place for a few seconds. 
TIP: Do not apply with your eyes closed or the glue will stick to 
your bottom lashes also.
Now you can go on to apply as many as you like. If you are just wanting to thicken up your lashes with out any extra length then you can space them out a little and use 4 or 5 flares on each eye.
If you are adding length place them close together, you should use about 8 to 10 flares.
TIP: To give your eye beautiful shape use 2 or 3 longer lash flares on the outer corner of your eyes.

How long will they last?

Flare eyelash extensions last around 2 weeks. You can maintain them by simply reapplying a new lash as one falls out. However long term use is not recommended and you should give your eyelashes a few days break every few weeks in between sets. Never pull on the flares to remove them. You should always use a eyelash glue remover or wait for them to fall out naturally.